For degradation and failure analysis of modules, we use a wide range of state-of-the-art equipment, partly developed in-house:
Analytic Equipment
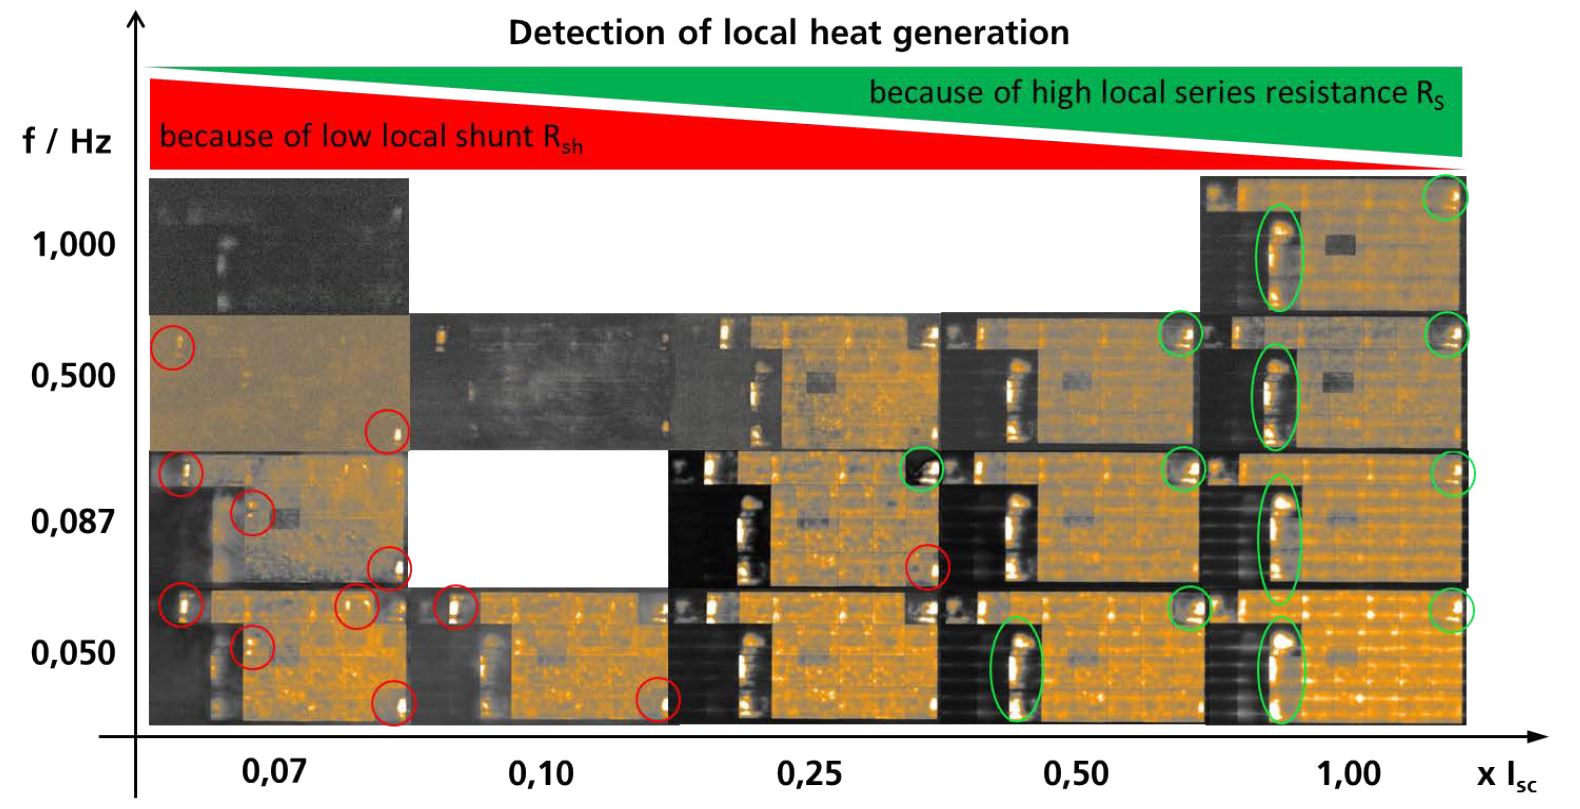
Image of an PID affected PV module, taken with different DLIT measurement parameters of excitation frequency and amplitude of stimulation current.
- Highly sensitive IR camera for module analysis
Lock-in thermography is already widely used for failure analysis of PV cells and now is available for non-destructive fault identification on PV modules. This method can resolve temperature differences of a few milli-Kelvin (mK) and help to understand the dynamics of heat fluxes. Local shunts and series resistors as well as faults and inclusions can thus be localized in the laminate.
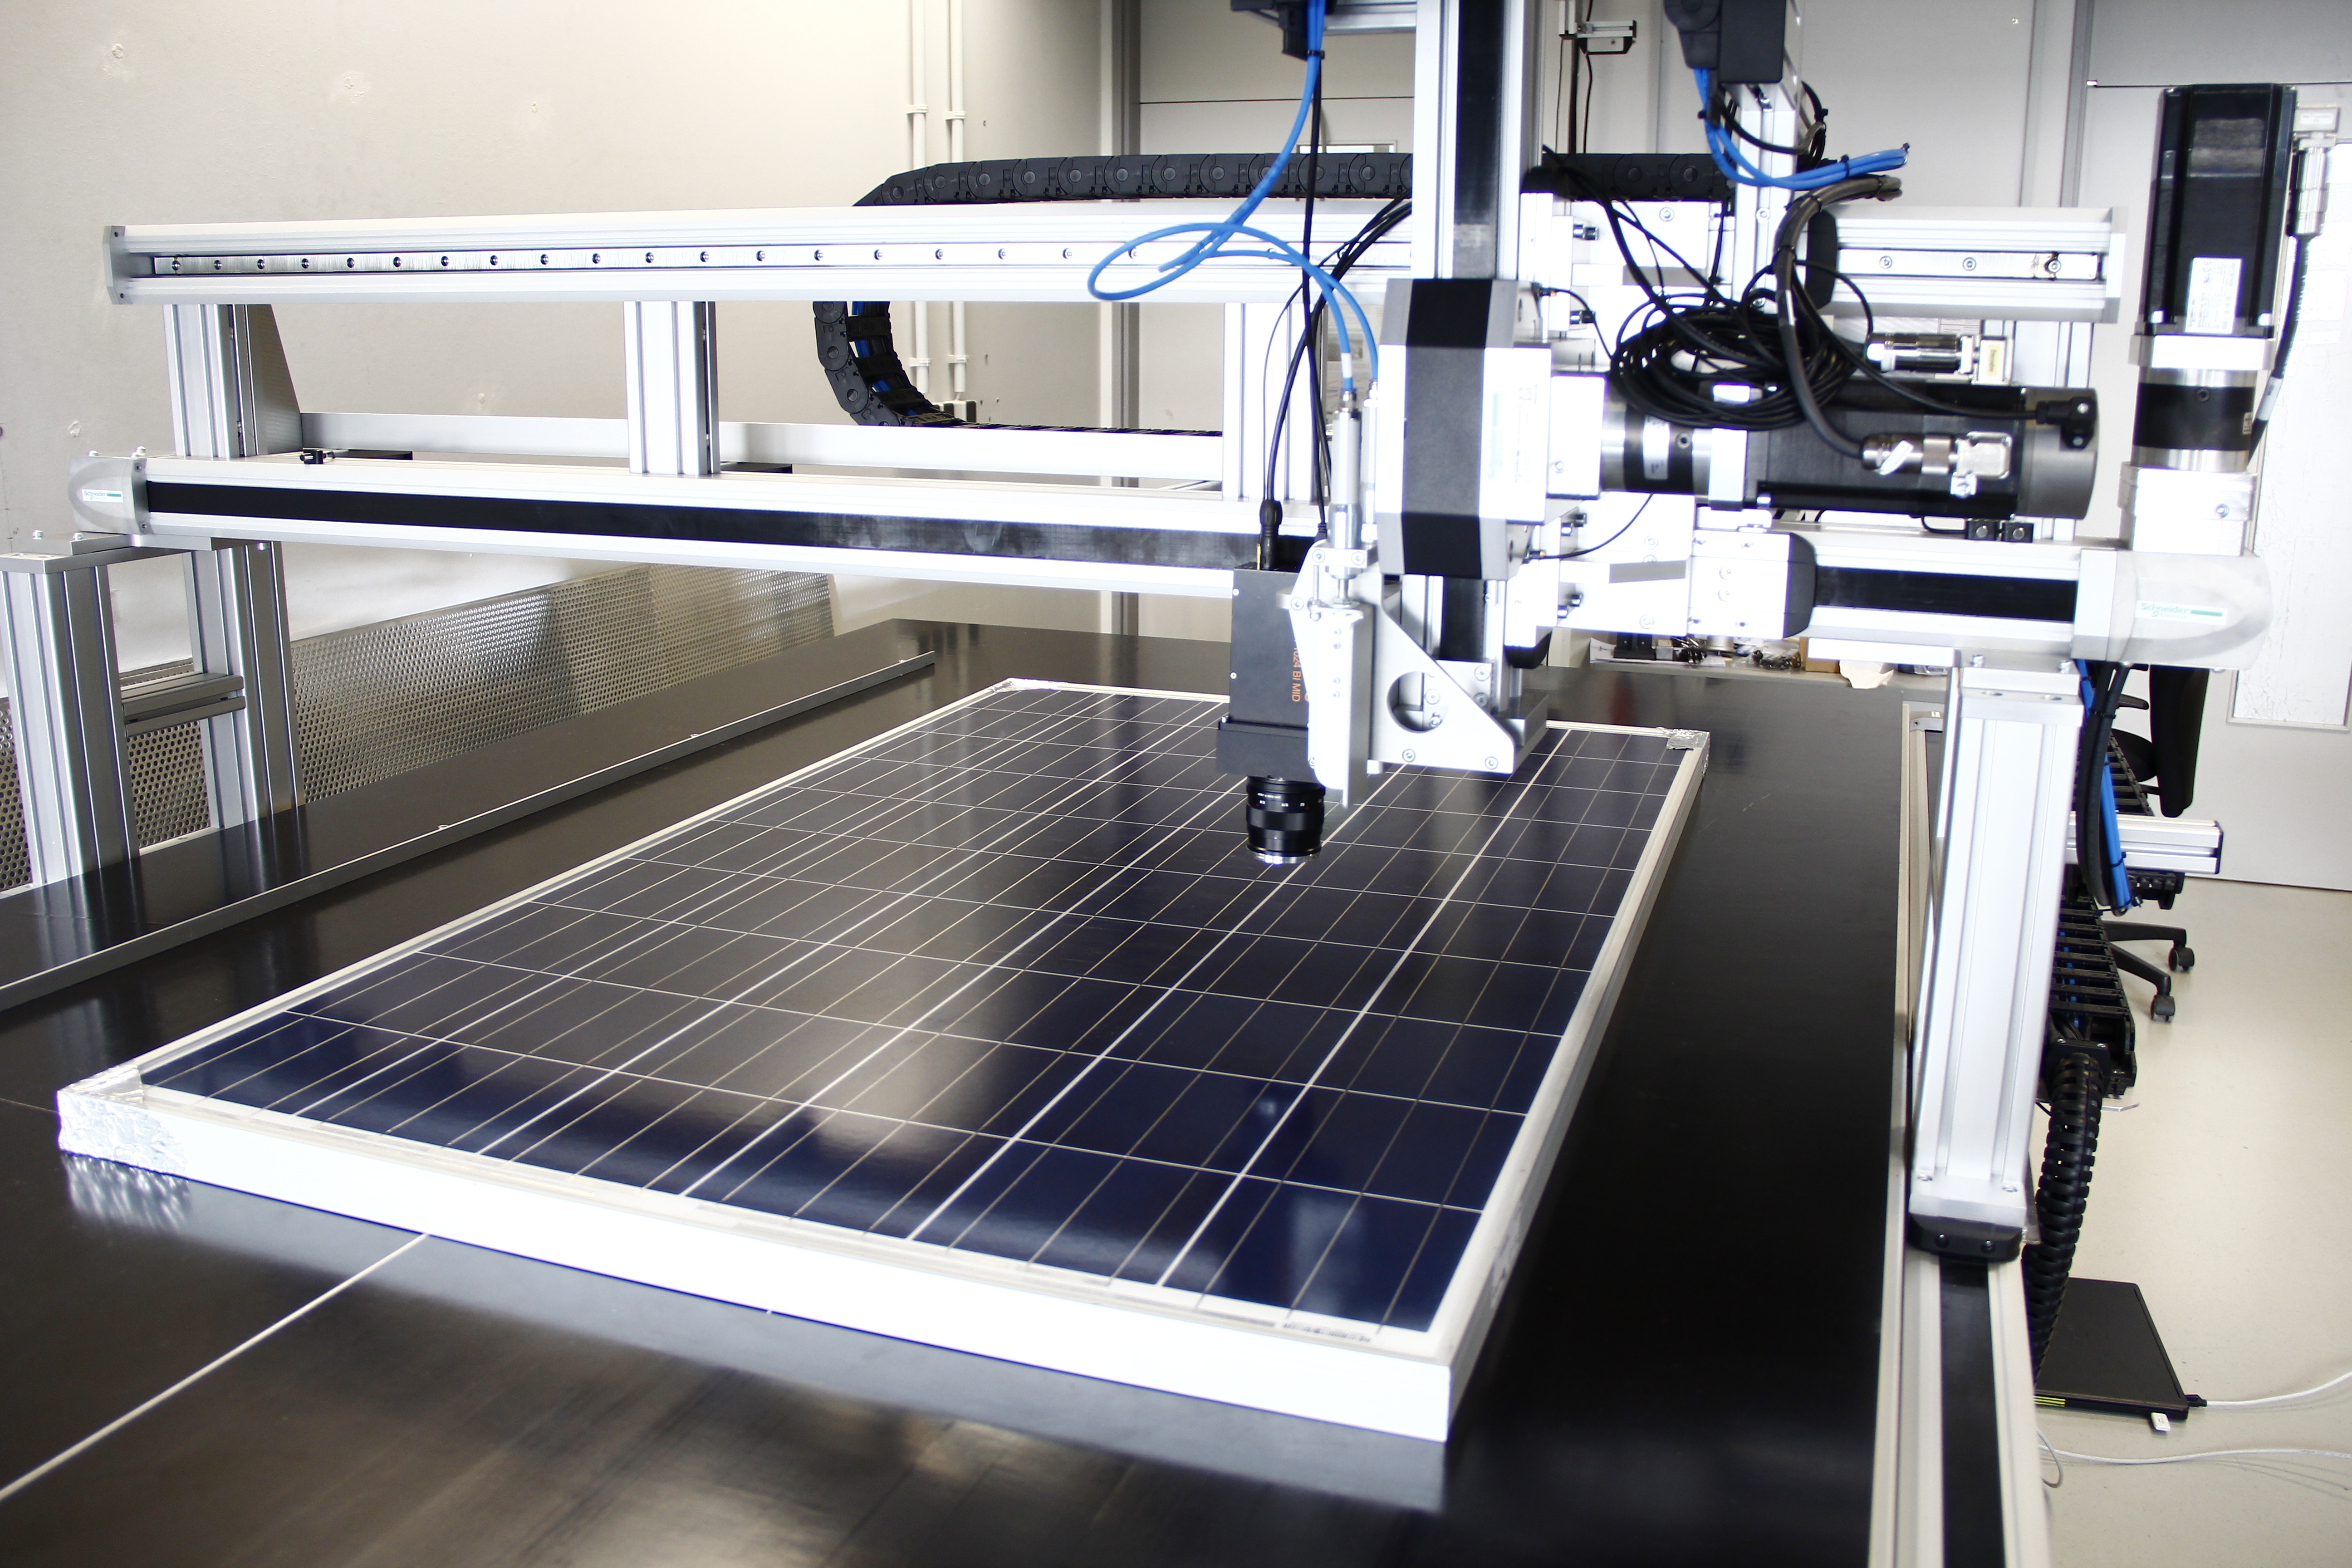
On the multifunctional analysis table, developed by the Fraunhofer ISE, various analytical and measuring instruments can be positioned precisely and reproducibly.
- Multifunctional analysis table
The multi-function analysis table is a highly accurate 3-D scanner where various non-destructive analyzers or measuring devices can be positioned precisely and reproducibly. This is particularly useful when observing changes in a PV module before and after degradation. For example, the occurrence of a cell defect, such as a microcrack, can be accurately tracked by applying a temperature load. We localize the defect site before and after degradation with a resolution of a few micrometers and observe the changes with the microscope. On the multifunctional table, further analyzing devices can be used, e.g. Raman and Fourier spectrometers.
- In-Situ Dark-IV
With In-Situ-Dark-IV monitoring, the potential-induced degradation can be recorded during the load. The advantages are:- shorter test cycle periods with stronger degradation
- assessment of the aging dynamics
In our climate chamber ten modules can be monitored simultaneously. In particular, the monitoring records changes in the parallel and series resistance.
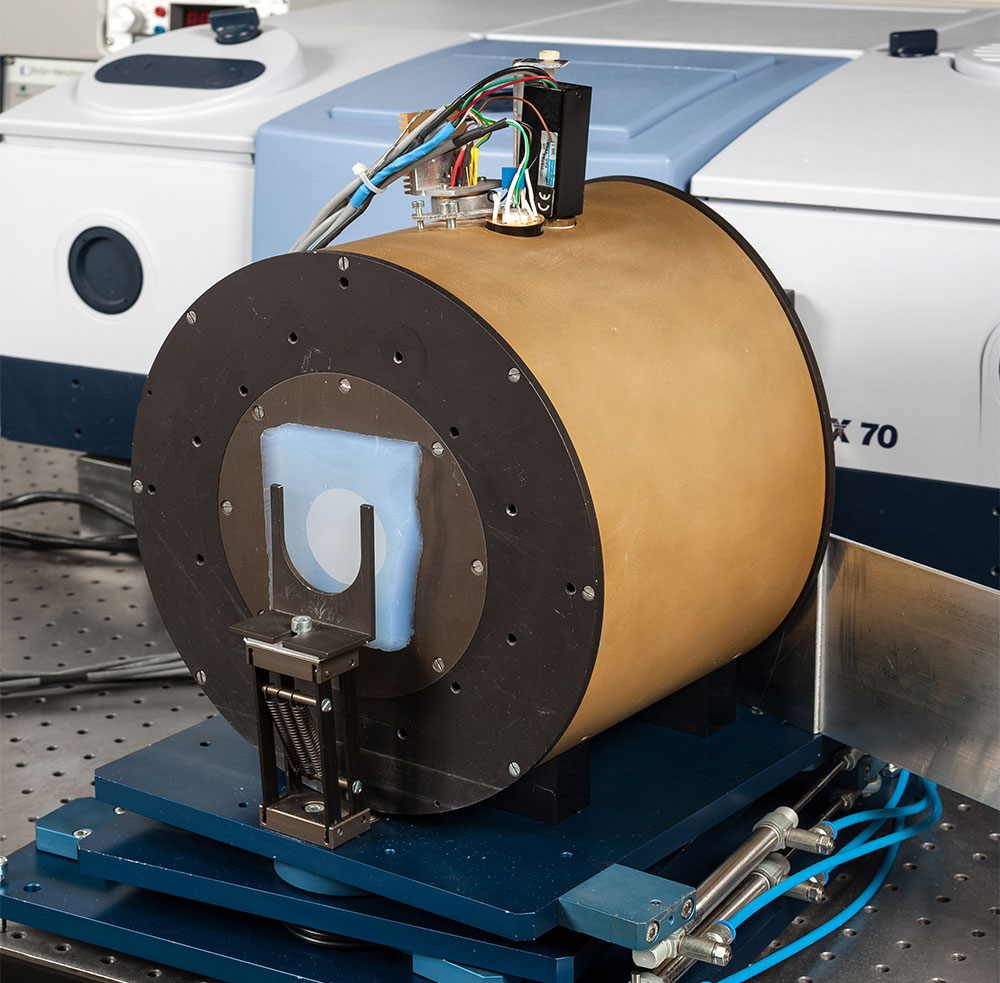
- Fourier Transform InfraRed spectrometer (FTIR spectrometer)
Optical characterization of samples (transmission, reflection) with the aid of a FTIR spectrometer, modified with Ulbricht spheres for the VIS range (0.33µm – 2.4µm) and the IR range (2.5µm - 17µm).
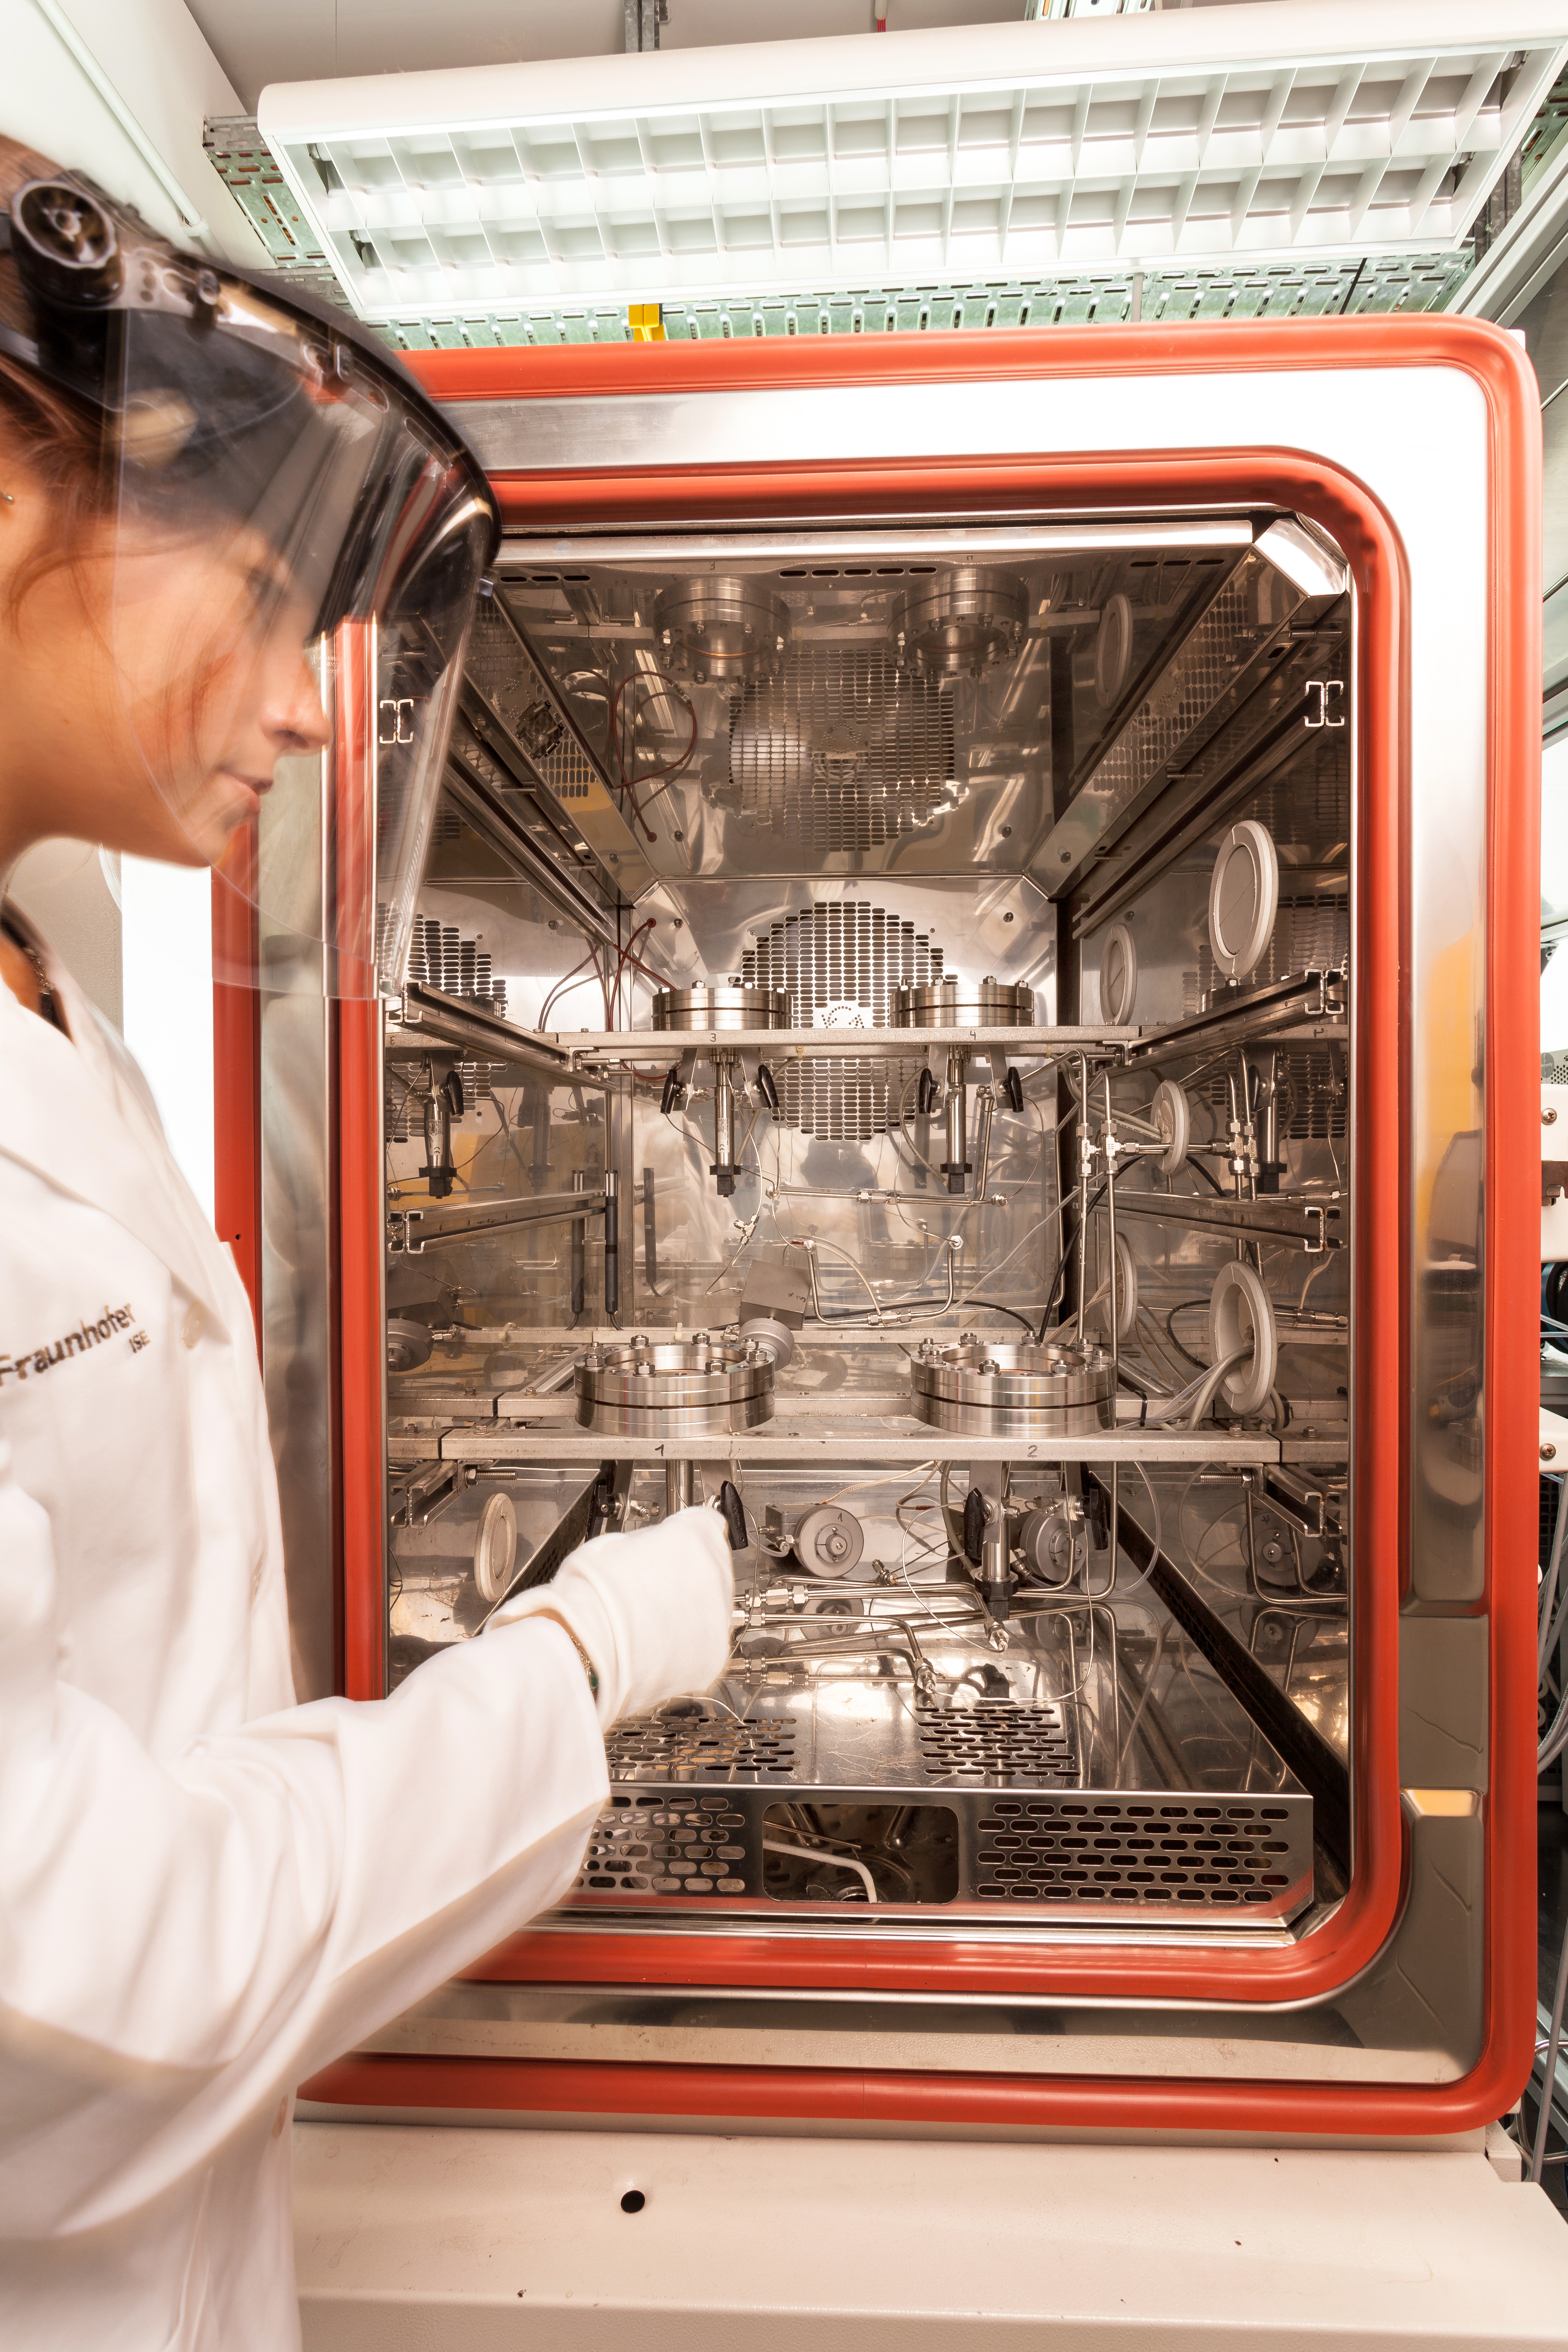
Measurement of the permeation and diffusion coefficients in backsheet films and en-capsulation material.
- Permeation measurement test bench
A specially developed permeation test bench with the highest resolution is used to investigate backsheets and encapsulation materials with respect to their permeability to water vapor or other gaseous substances under different ambient climate conditions. Here, the permeation and diffusion coefficients are determined and evaluated using high precision measurement techniques. Thanks to the flexible setup, it is also possible to investigate and characterize complex problems, such as the barrier properties of edge seals.
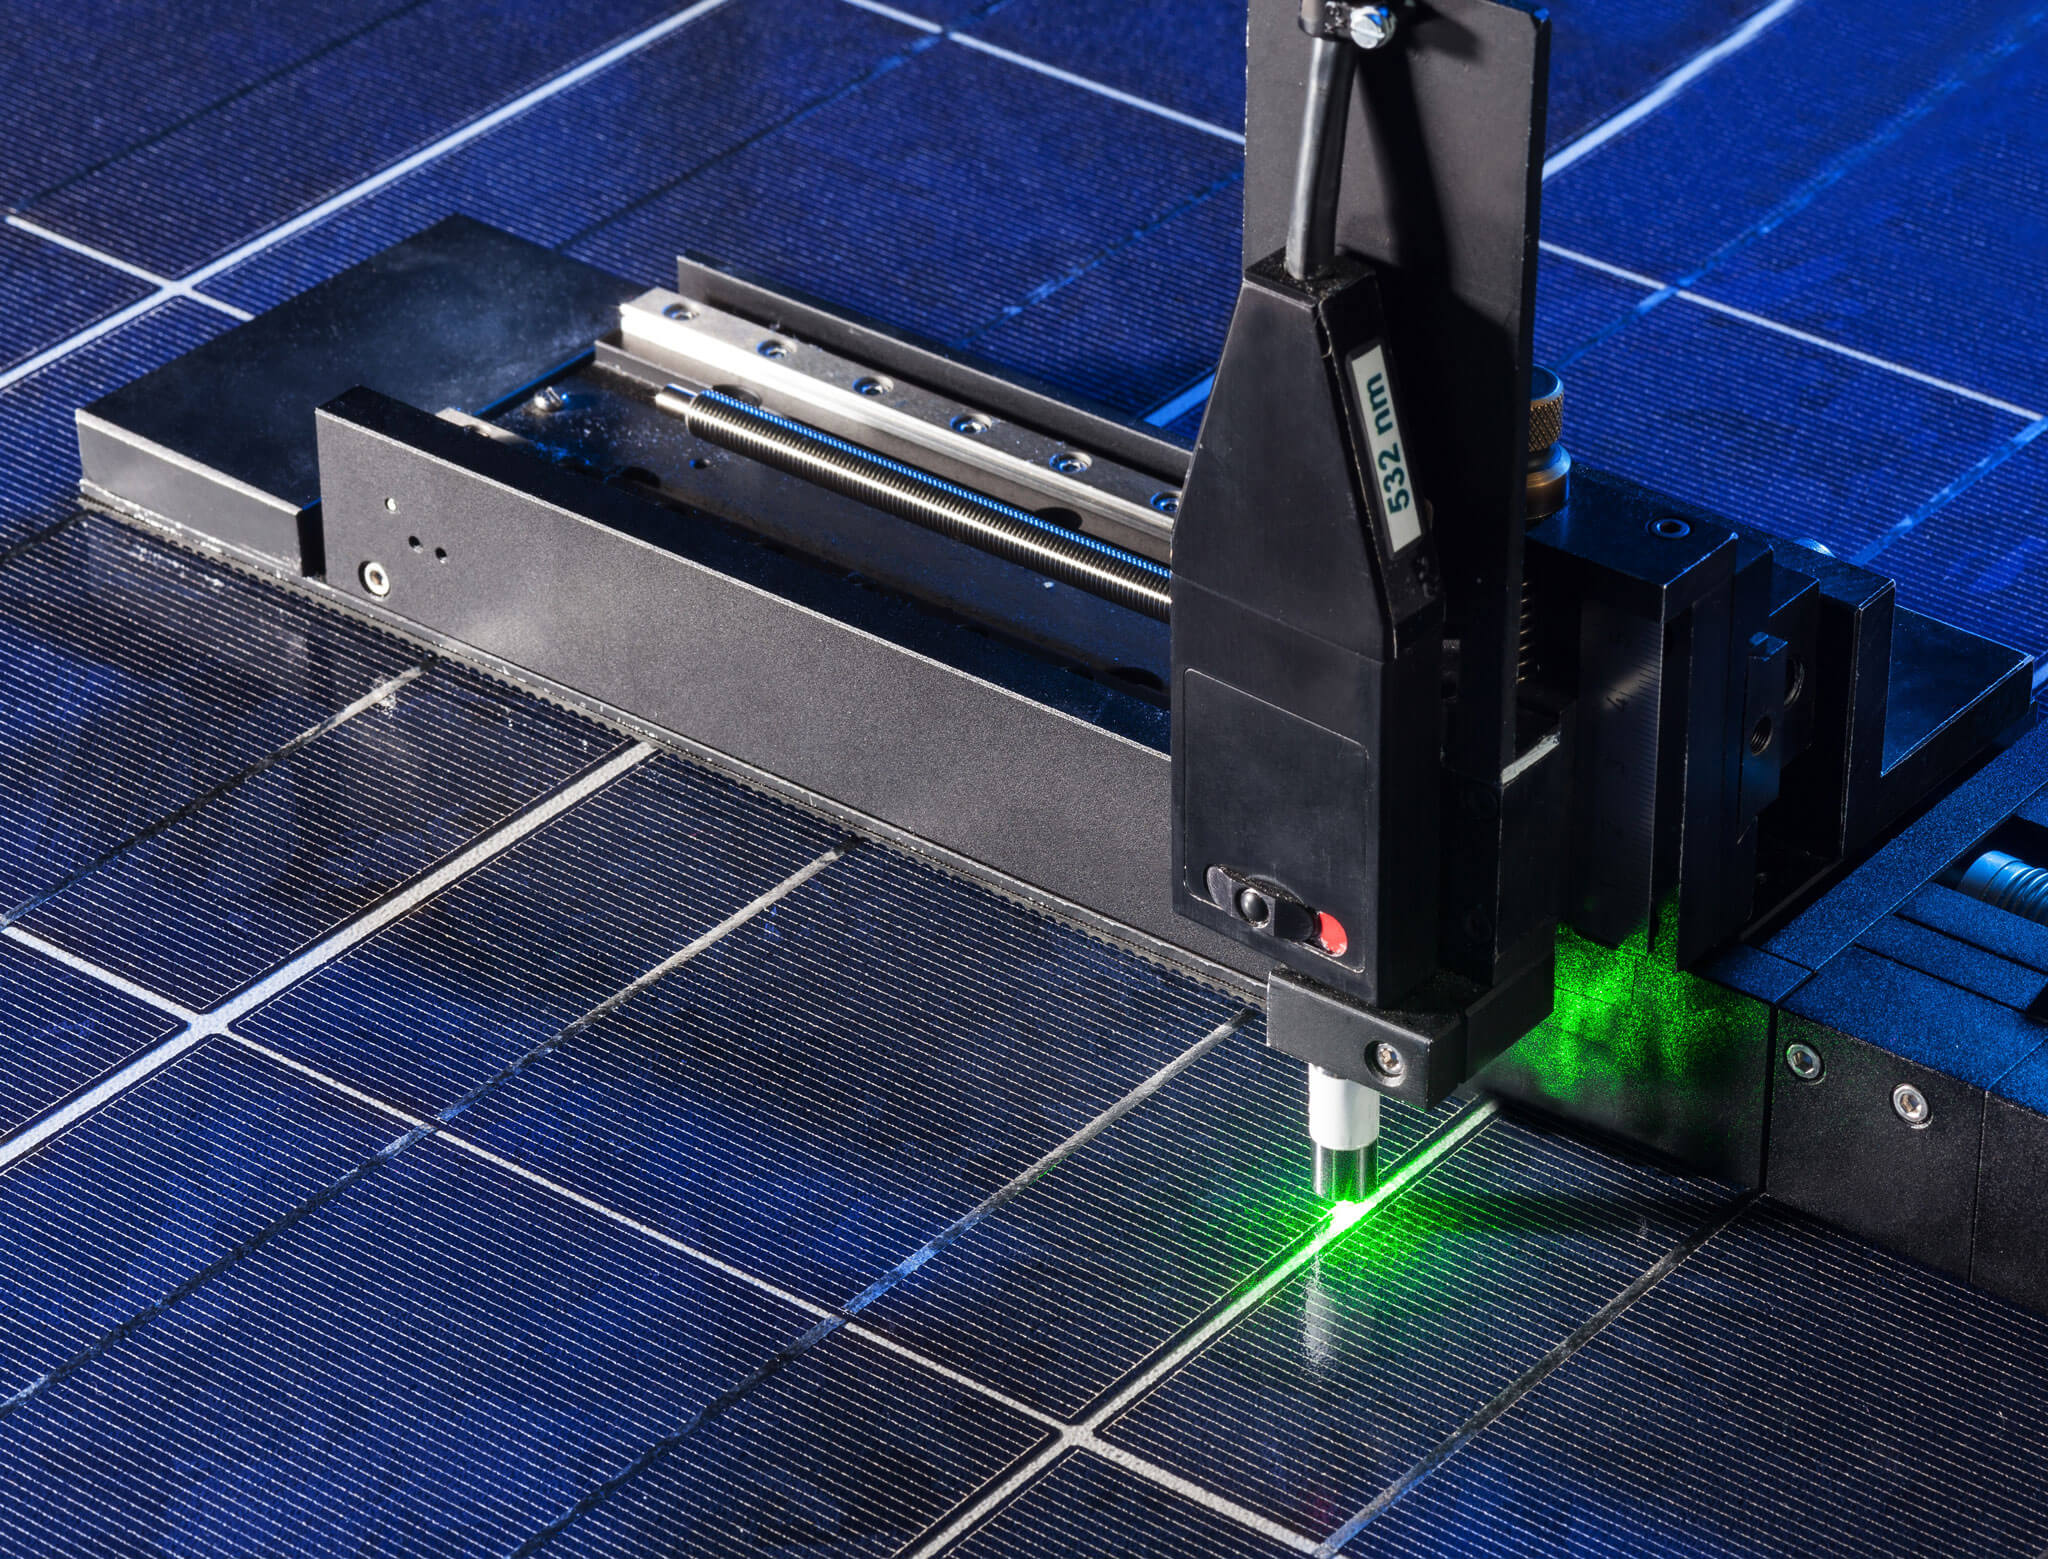
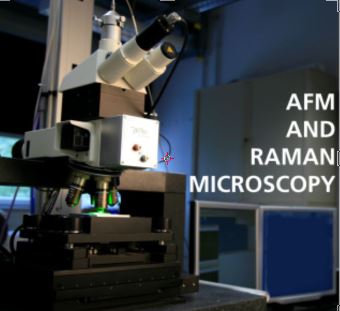
The Raman microscope allows fast and non-destructive chemical characterization of a wide range of materials.
- Raman microscope
The confocal Raman microscope enables rapid, non-destructive chemical characterization of a wide range of different materials. The analysis of small samples such as polymer films, laminates or Si-cells can be performed with the aid of a motorized scanning table in 3D. Even large samples, including entire PV modules, can be investigated without difficulties using a special measuring head.
- Atomic Force Microscope (AFM)
Atomic force microscopy is used to investigate the surface properties of a specimen, such as its topography, adhesion and rigidity. Using a combination of Raman spectroscopy and atomic force microscopy in a single instrument enables comprehensive 3D material analysis to be performed.

